Little Red hoop art | Sewing Room in Homespun

I don't get much chance to work with felt these days (it's all sewing or crochet at the moment!), so I have been really really itching to find a good project involving felt... and something a little bit different. I was browsing Pinterest for some inspiration and came across some beautiful 3D felt hoop art made by the very talented Erica Catarina from one of the best felt blogs out there - Ei Menina. If you like working with felt and haven't discovered her blog yet head over and check it out. I love everything she makes, her attention to detail is simply unbelievable. It's in Portuguese but there is a translate button.

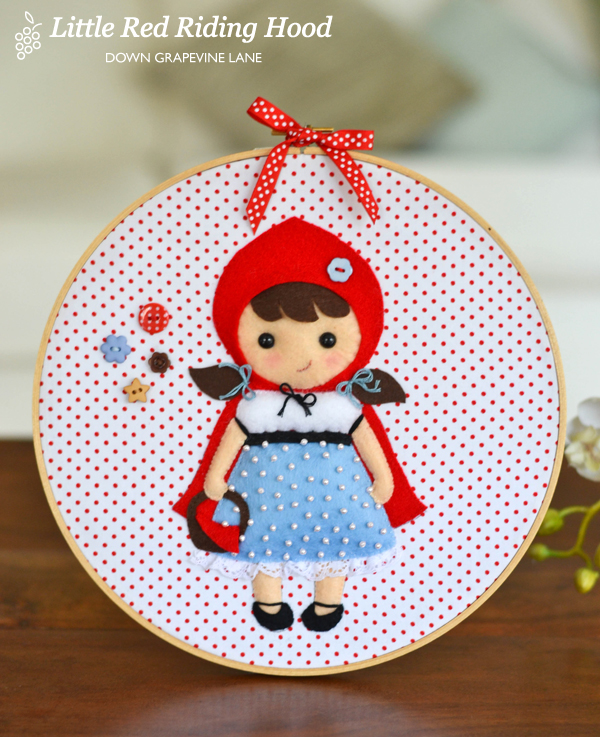
I decided to make my own version of Little Red Riding Hood, one of my favourite classic children's stories of all time.

DSC_1349 600px
Little Red 600px

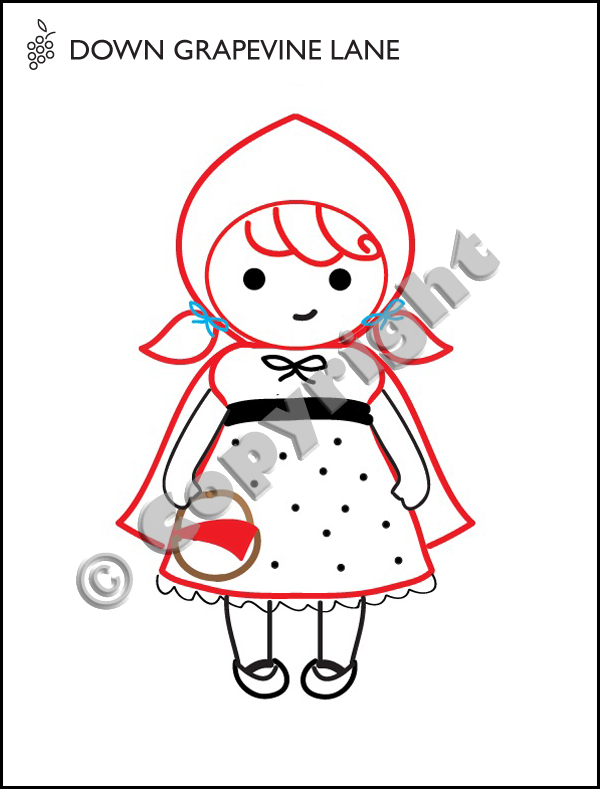
I drew her up in Adobe Illustrator (it's crazy, I can't draw on a piece of paper, but I can do a reasonable job in Illustrator? I think it's the ease with which I can shift and angle lines, and erase any little mistakes).
Little Red drawing © 600px

I envisaged her as blond initially but when I got all my felt out and started picking colours, she clearly wanted to be a brunette - she just didn't look right with blonde hair.
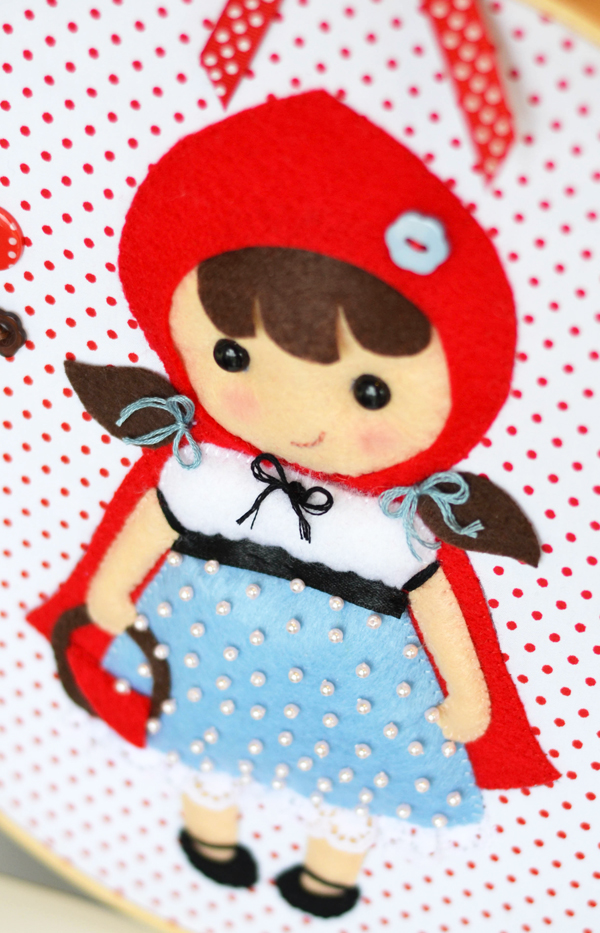
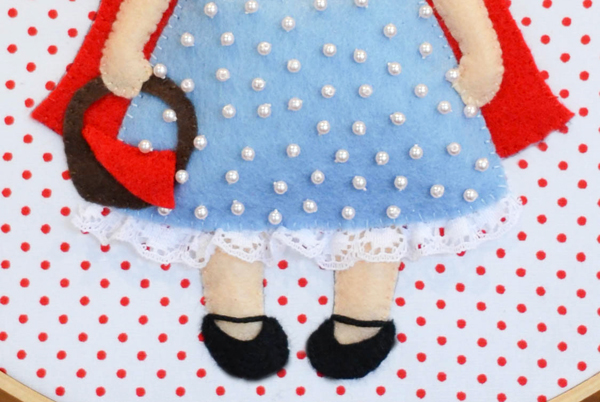
DSC_1375 600px
DSC_1348 600px

If you like what you see here, then you will definitely like what I have in the pipeline. I can't share any details yet as it's a bit of a hush-hush project but one I am very excited about! Stay tuned.

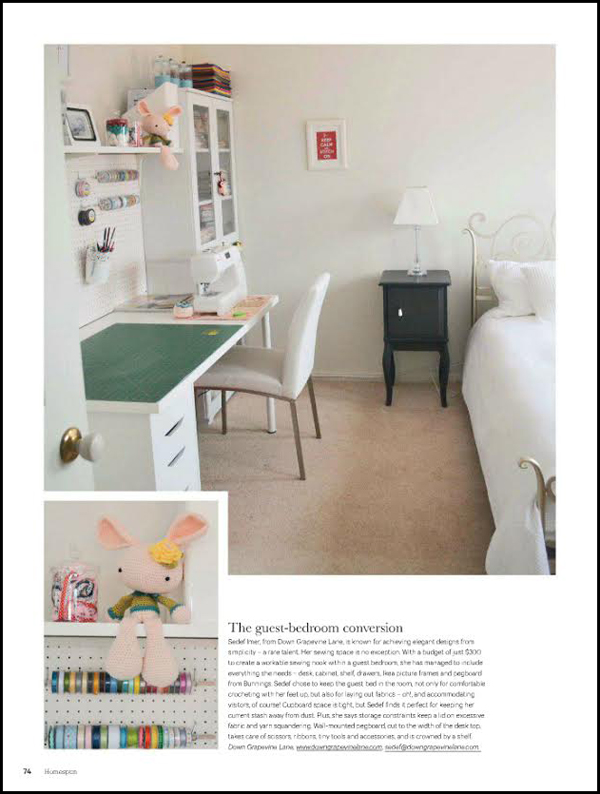
In other news my sewing room has been published in Homespun magazine's March issue, as part of a feature on small craft spaces.
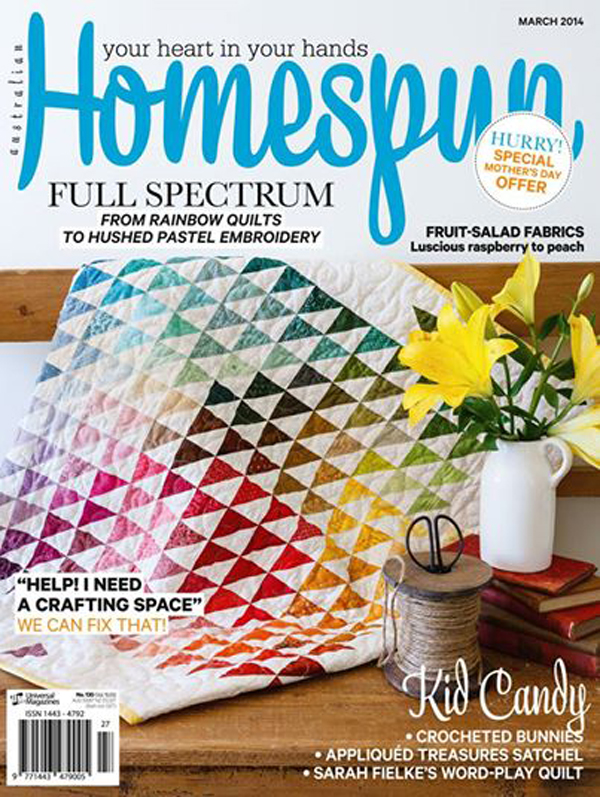
Header 600px
DSC_0366 600px

So that you don't strain your eyes, the text reads:
"Sedef Imer, from Down Grapevine Lane, is known for achieving elegant designs from simplicity - a rare talent. Her sewing space is no exception. With a budget of just $300 to create a workable sewing nook within a guest bedroom, she has managed to include everything she needs - desk, cabinet, shelf, drawers, Ikea picture frames and pegboard from Bunnings. Sedef chose to keep the guest bed in the room, not only for comfortable crocheting with her feet up, but also for laying out fabrics - oh!, and accomodating visitors, of course! Cupboard space is tight, but Sedef finds it perfect for keeping her current stash away from dust. Plus, she says storage constraints keep a lid on excessive fabric and yarn squandering. Wall-mounted pegboard, cut to the width of the desk top, takes care of scissors, ribbons, tiny tools and accessories, and is crowned by a shelf."

You can see more pictures of my sewing room in this old blog post  - in case you were curious about where I make all my stuff! Mind you it isn't looking quite so neat and shiny these days - when I showed the magazine to my husband he said "So that's what it used to look like when you could see the desk and the floor". It isn't so bad really, he is exaggerating (*cough*).

signature small

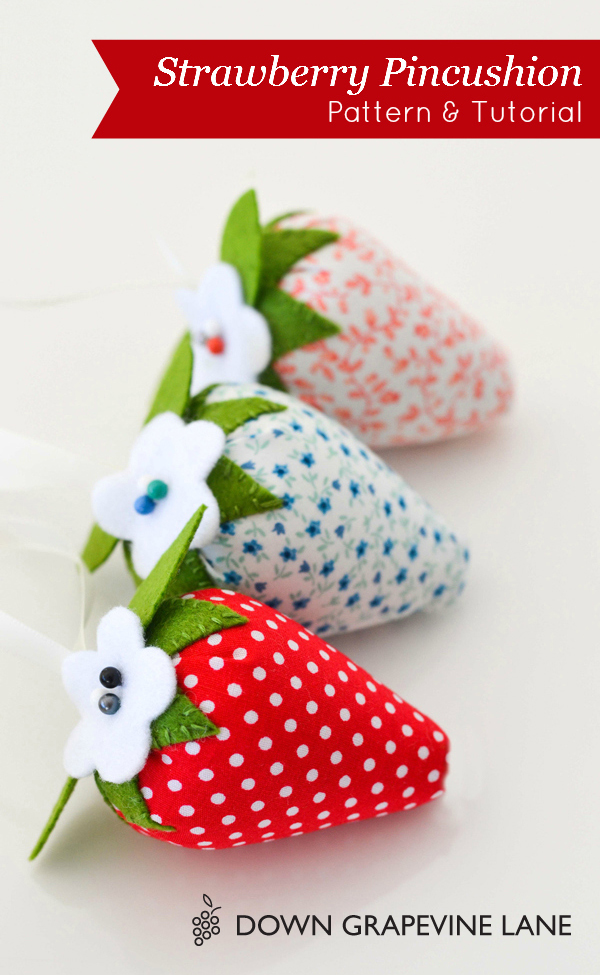
Tutorial: Strawberry Pincushion

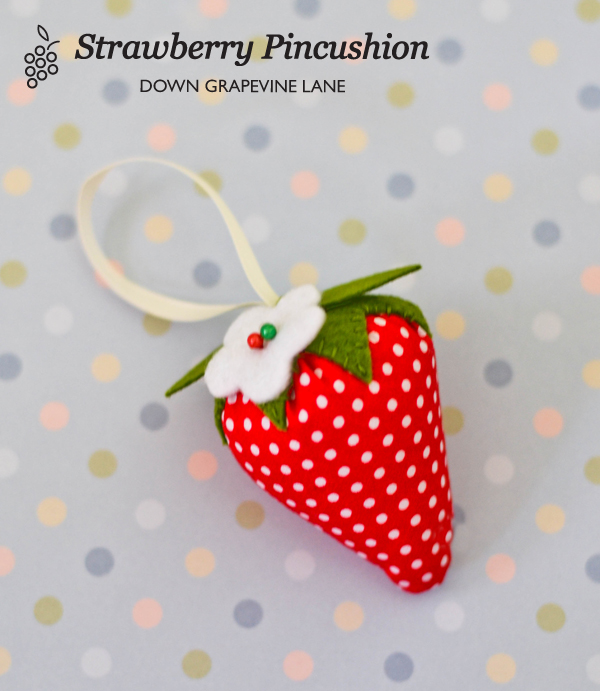
Remember the strawberry pincushions I blogged about in January? Here is the pattern and step-by-step instructions on how I made them. They are quick and make great gifts, either as pincushions or just as cute ornaments. And a great way to use up those very last scraps of your favourite fabric!

Titlestrawberry pincushion pattern

MATERIALS:
You will need:
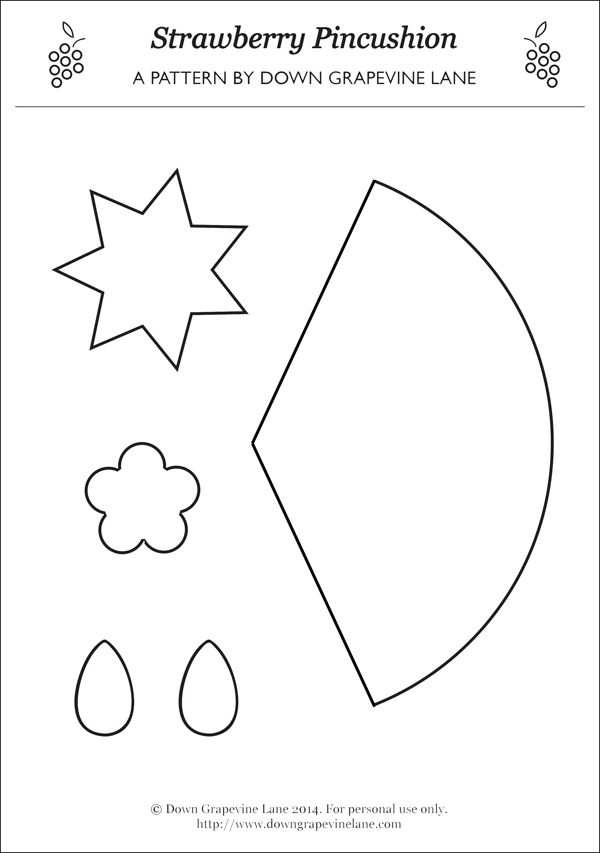
- The pattern (download it from here as a PDF and print it to A4)
- Small piece of fabric - approximately 15 x 20cm
- Green and white felt & stranded cotton in matching colours
- Coloured beads or pins for the flower decoration
- Ribbon or string for the hanging loop
- Stuffing material (e.g. Hobbyfill)

STEPS:
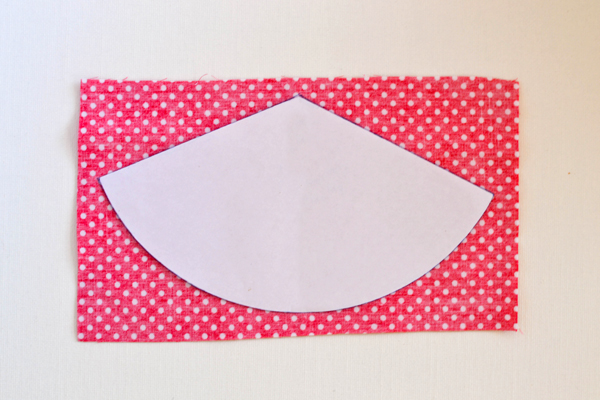
1. Trace the pattern for the strawberry body onto the back of the fabric and cut it out.

image 1 600px

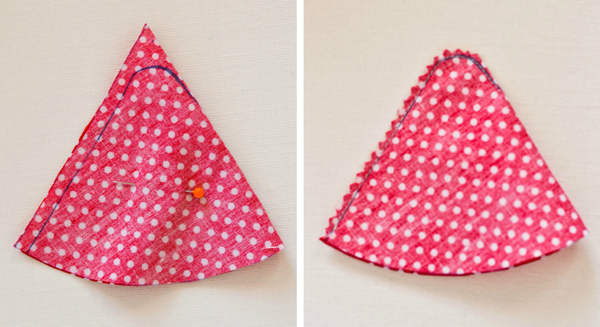
2. Fold the cut shape in half, then trace a line by hand approximately 1/4 inch from the edge and curve it around so you get a nice rounded bottom rather than a pointy one. Using a short stitch length sew along the traced line, securing your ends. Trim the excess material with pinking shears.

image 2 600px

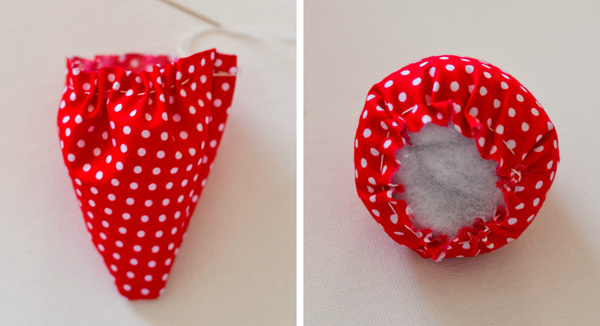
3. Turn the strawberry inside out, then sew a gathering stitch by hand all the way around the perimeter of the strawberry, approximately quarter inch from the edge. Stuff tightly with stuffing, pull the gathering stitch tight, and secure with a knot.

image 3 600px

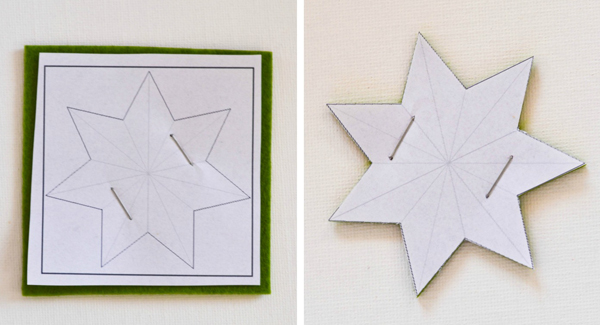
4. Cut out the shapes for the leaves and flower from the pattern sheet, leaving a margin around them. Staple onto the felt using a regular stationery stapler (or you can pin it, but I prefer stapling as it doesn't warp the fabric as much and you get a cleaner shape, especially for small pieces). Cut the pattern and felt on the line, remove and discard the staples and paper.

image 4 600px

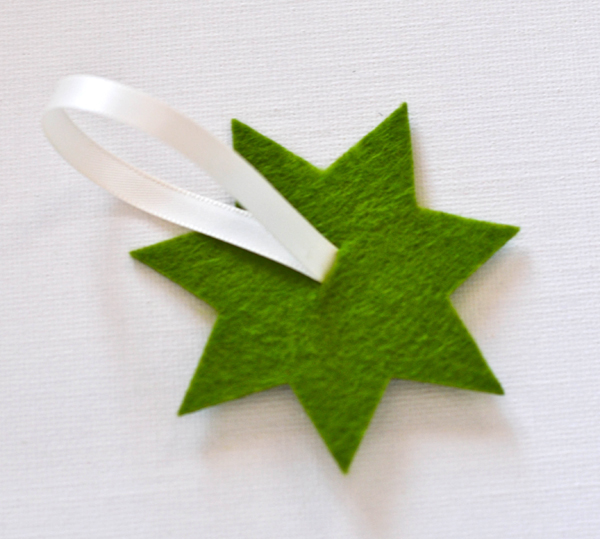
5. Cut a 10cm piece of ribbon or string, fold in two and stitch the ends together with a small knot. Slice a small hole in the middle of the green felt for the top of the strawberry, and push the ribbon into it. You can secure it onto the felt with a small stitch now if you want, but I do that whilst I stitch the green leaves on, a few steps later.

image 8 600px

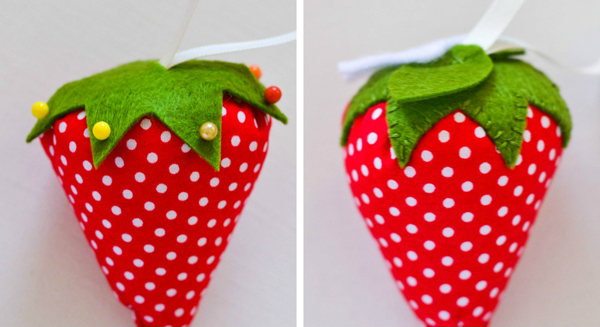
6. Pin the top of the strawberry onto the body. Using 2 strands of green cotton and an applique stitch, stitch the top of the strawberry onto the body. Tip: When I do the points I push the needle down through the very tip of the felt for a cleaner finish.

image 5 600px

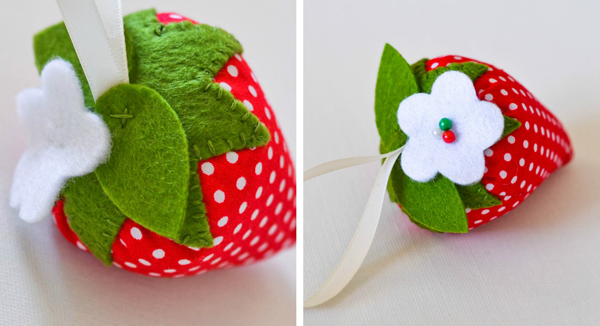
7. Stitch the leaves and flower onto the top of the strawberry with a little decorative cross. Decorate the top of the flower with pins (like I have done here) or coloured beads.

image 6 600px

And there you have it - one cute strawberry!

Image 7 600px

signature small

Birthday boy

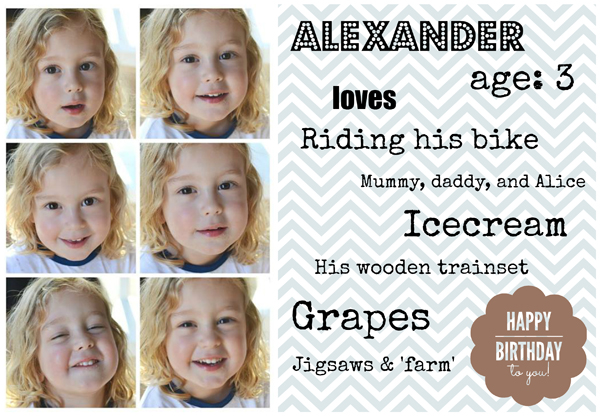
My little guy is now a big three year old boy. When did that happen? I blinked and he is a 'three-nager' (oh yes, now I understand what that phrase means). Despite the toddler antics I fall in love with him a little bit more every day - I am truly blessed and so proud to be his mummy.

collage 600px

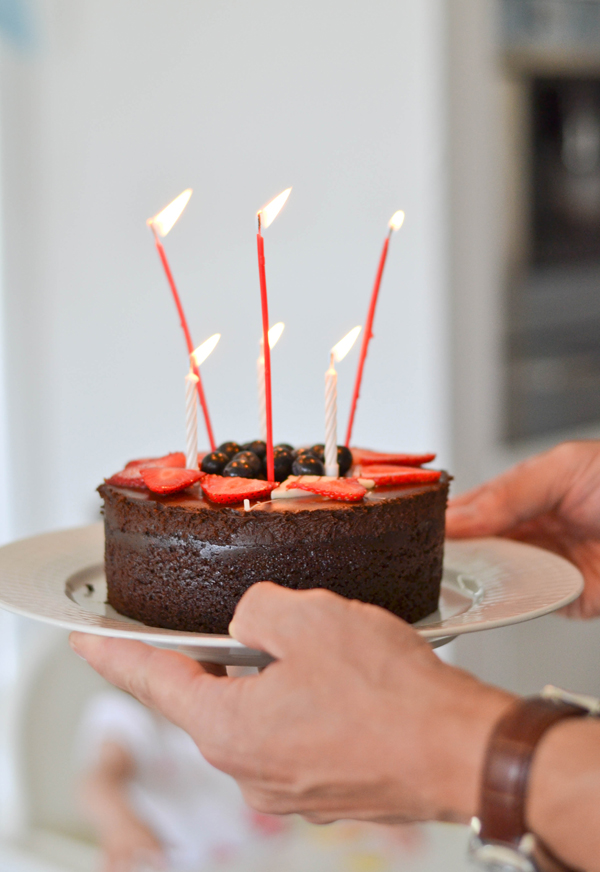
We celebrated his special day with a visit to his favourite play-cafe, followed by a little family party. He got his special 'happy birthday cake' - a chocolate mousse cake with strawberry topping (his favourite, he would live on chocolate cake if I let him).

DSC_1427 600px DSC_1448 600px DSC_1443 600px
DSC_1492 600px

He got lots of small presents - a jigsaw puzzle, playdough set, a little model airplane and a helicopter, pair of binoculars, books, and a special new clock (that tells him when he needs to go to sleep and when he can get out of bed). However his favourite present by far is his new nightlight - to keep all the night monsters and beasts at bay.

Nightlight1 600px

It was made for him by the very talented Daniela from Trebuchet blog, one of my favourites. Daniela now has an Etsy shop called Casita selling these adorable hand-made wooden nightlights. I bought one for Alice too (of course), I will share a picture of that soon. I squealed when I opened the parcel, they were even more perfect in real life than in the pictures, such attention to detail! Thank you so much, Daniela.

DSC_0066 600px
Nightlight2 600px

Life at Down Grapevine Lane headquarters is busy as always, I have a number of projects underway, and I haven't forgotten about the strawberry pincushion tutorial - which is coming next.

signature small

'Birds & Bees' cushions in Homespun magazine

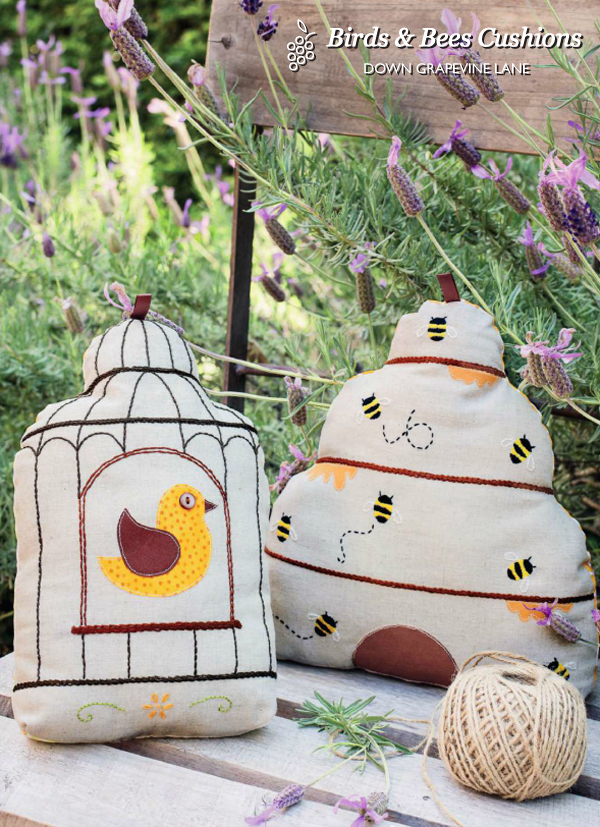
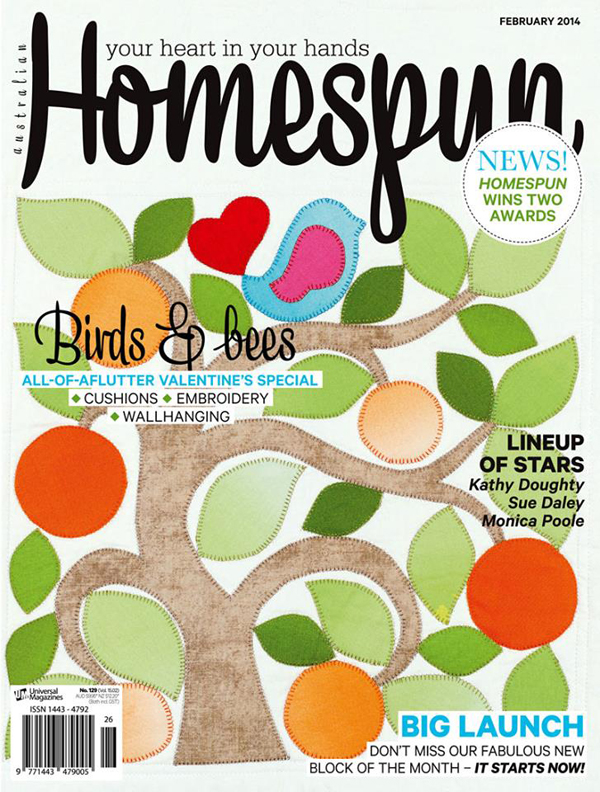
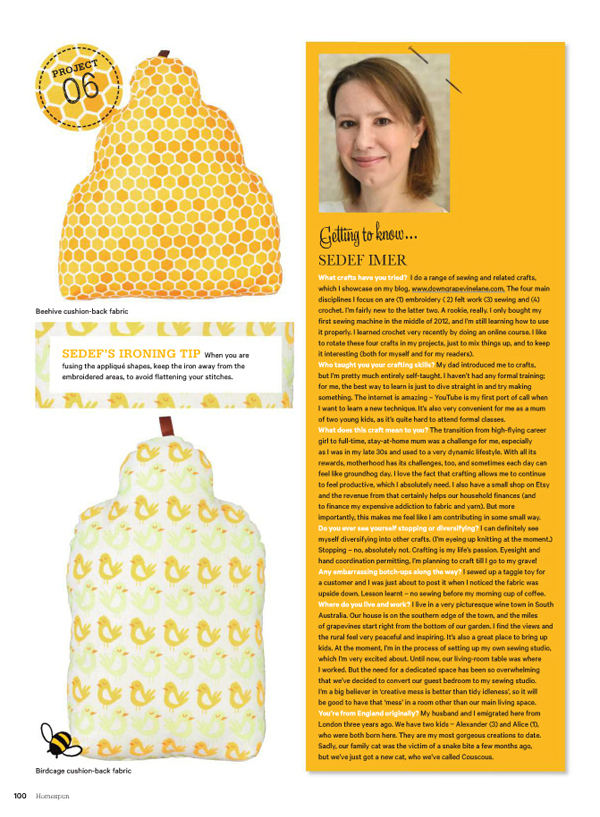
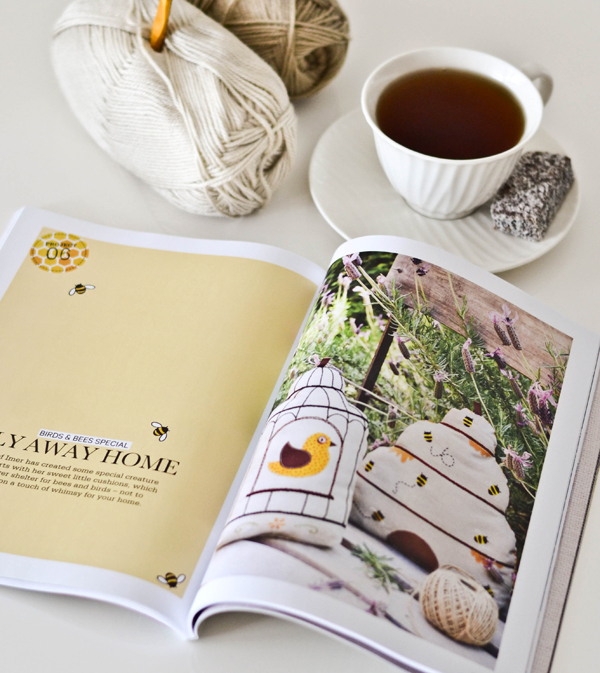
I was still celebrating the publication of my first project with Homespun magazine when they asked me if I would be interested in designing and making a pair of cushions for their February issue, which has a 'Birds and Bees' special, a cute take on Valentine's Day. Would I?!

bee1 600pxHomespun cover 600px

I really enjoyed making these whimsical cushions. One in the shape of a bird in a cage, and the other in the shape of a bee hive. They have linen fronts and coordinating fabric backing (birds on one and a honey comb on the other), and the fronts of the cushions are hand-embroidered and appliqued.

bee2 600px

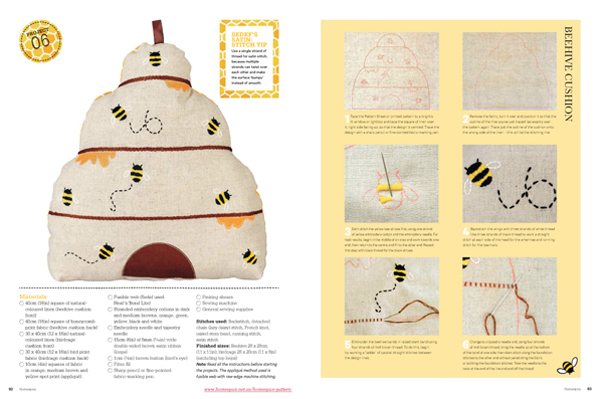
There is a full tutorial on both cushions with step by step instructions and images demonstrating each technique used in their construction, as well as a little profile piece on me and my Down Grapevine Lane and crafting journey.
Interview 600px
And there you have it. My 'birds and bees' special for this year. Happy Valentine's Day everyone!

DSC_1380-2 600px

signature small

Happy, happy birthday

Down Grapevine Lane is one! My third baby is practically a toddler now... It has been such a busy year but when I look back at all the things I created since starting on this journey I can't help but feel proud. What started as a spare-time hobby has turned into a full time job now. Thanks to every one of you for following my blog and helping me live my dream - doing work I adore and enjoy so much that it doesn't feel like 'work'!

To mark the occasion, I set about making something I have been lusting over for a while - a cupcake pincushion.

DSC_1336 600px

I found a free pattern on Ravelry, and sat down one evening with my hook and yarn, aiming to have my coveted pincushion ready in an hour. Not to be. I finished the base and it didn't look anything like in the photos. Nooo! There was a new stitch (back post double crochet) that I had never used before so I thought I must have got that wrong. Not a problem, easy to fix. Google 'bpdc', watch a few You Tube videos, start the base again. Aha! I have to turn the whole thing inside out after I 'turn' in round 3! Finish the base, compare against the pattern image - looks even worse than my first attempt. Getting seriously frustrated now (and it's already bed time). Start again. This time, when I came to round 3, I just ignored where it says 'turn', slip-stitched to join, and kept on following the pattern - and finally! It looks right! I have since discovered it's most likely a typo in the pattern, as others had the same problem as me. Ha!

DSC_1346 600px

The dome on mine is a bit higher than in the pattern, I just kept going in the round a little more. And added a rose and a couple of leaves on top (I just made these up myself but there are many patterns on Ravelry for similar).

Such a gorgeous pattern and it really takes no time at all (as long as you remember to ignore that 'turn' in round 3!)

DSC_1356 600px

I thought Down Grapevine Lane and its owner deserved a bit of a birthday treat too, so I ordered some Zakka supplies I have had on my wishlist for way too long. I keep a 'Wishlist' board on Pinterest, in the vain hope that, one day, my hubby will remember to check there when looking for a present for me. But he keeps forgetting, so I will just buy them myself then.

Here is my haul - three Zakka books with so many cute projects to choose from, and by some of my favourite bloggers too! I also got some cotton tape and some cute Japanese animal fabric that will make the cutest patches.

DSC_1309 600pxDSC_1295DSC_1409 600px

Last but not least - a delightful scrap bundle from my new favourite Etsy shop Billycottonshop (which seems to have free shipping all the time!). I am so in love with some of these prints, such a shame the shop doesn't seem to have any yardage left! I haven't quite decided what I am going to make with these scraps yet - patchwork for sure, but what? Any suggestions?

DSC_1398 600px

signature small
Related Posts Plugin for WordPress, Blogger...