

The lovely Amy Smart from Diary of a Quilter asked me recently to write a guest post for her fabulous blog - a real treasure trove of free patterns, sewing techniques and lots of inspiration. Today on Diary of a Quilter I'm sharing the steps to make a very simple round sprocket pincushion. You can read the full tutorial here.

If you've ever made round pincushions you will know that it can be a little tricky to get that perfect circular shape with no bumps and lumps around the edges (especially at the stuffing point). So I'm sharing a very simple technique that I use to achieve that perfect round shape every time.

The style of this pincushion is known as a 'sprocket' design in sewing literature as the slices resemble the spokes of a wheel - this is typically achieved by sewing wedges of fabric together (like a Dresden plate) to form a circular shape. That can be a little time consuming, so I cheated and used half square triangles to make the top - could you even tell at first glance?

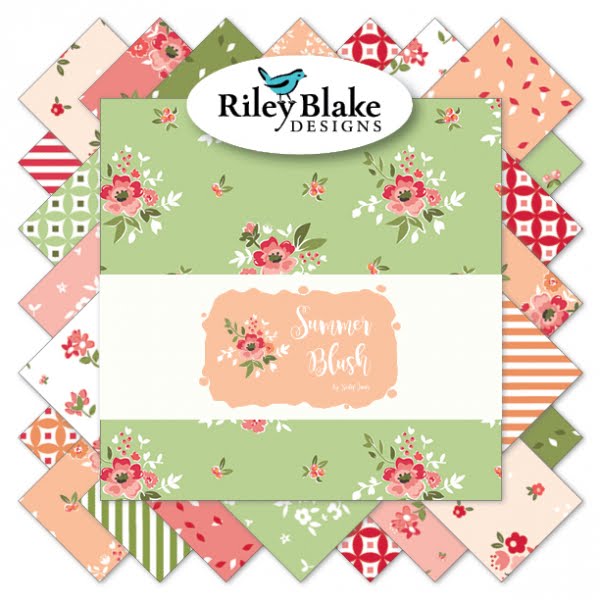
Pop over to Amy's blog now to read the full photo tutorial for this super quick pincushion. The fabrics I used are from my 'Summer Blush' fabric collection for Riley Blake Designs, and will be on the shelves this August - you can ask for it at your local quilt shop. Happy sewing!


This is so pretty, and I love the colours. x
ReplyDeleteBeautiful! I’m going to make several. One or two for myself and a few gifts.
ReplyDelete